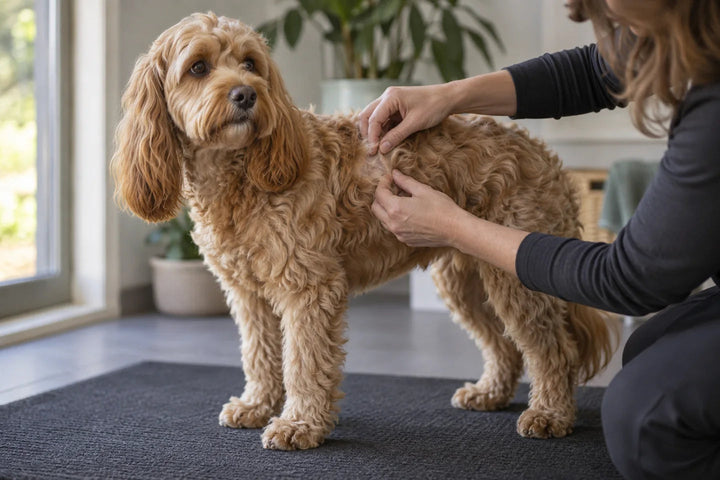
A Careful Paw Tidy with PawTrim Pro
Lesson 7 of 12 · Grooming for pet parents
A paw tidy should stay a small, visible job. The purpose is not to remove every hair or dig between the pads. Begin with comfortable paw handling, clear visibility and practical instruction on your own dog before using a powered detail tool.
Decide whether anything needs trimming
Look at the paw while the dog rests or stands naturally. Gently check accessible hair for debris or loose tangles, using a suitable small comb only where it passes comfortably. Do not pull at compacted hair between pads or try to uncover skin with scissors.
If the paw is sore, the dog is suddenly protective of it, or you find a tight mat or an unclear lump, stop and get appropriate help. A grooming tool is not a way to investigate a painful area. Even a healthy paw may need no trimming today.
Keep the leg in a natural position
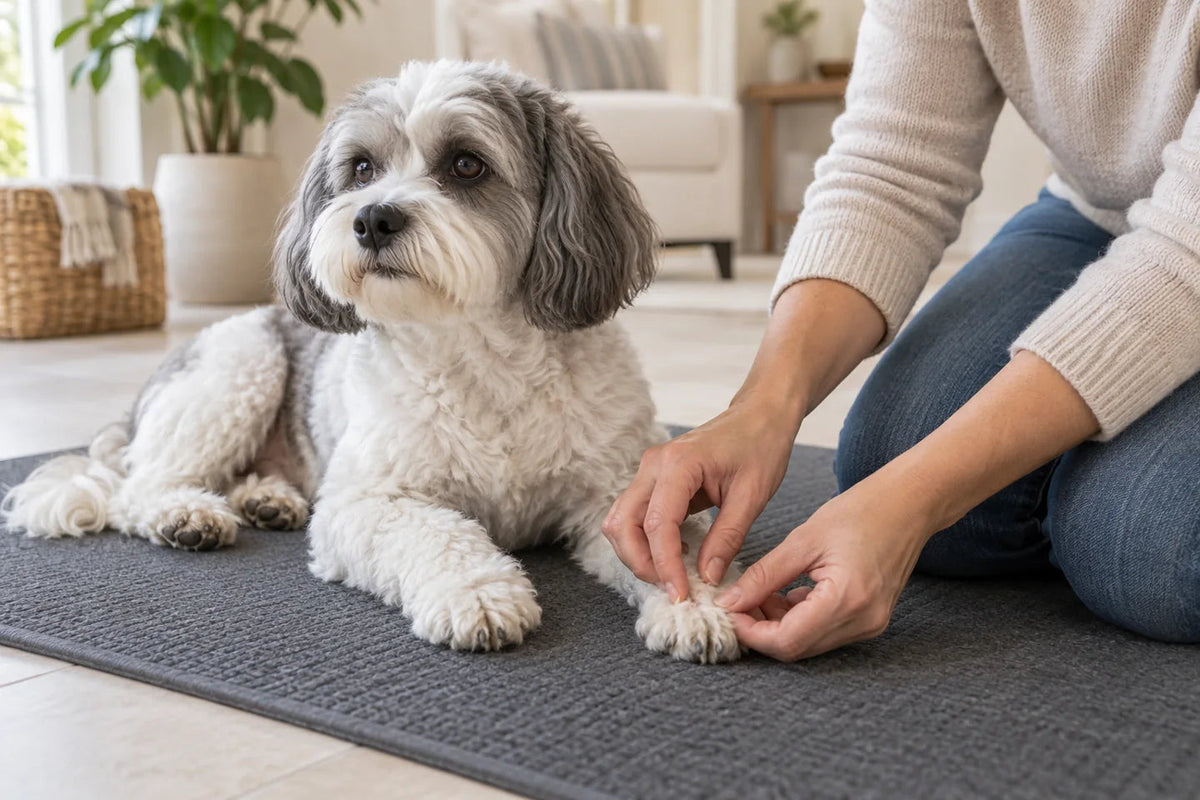
Practise briefly supporting the paw close to its normal resting position, then release and reward. Avoid lifting the limb high, twisting it outward or holding it while the dog repeatedly pulls away. Reposition yourself instead of making the dog bend to suit your view.
Before using the tool, you should be able to see the intended hair and the boundary of the paw clearly. Your supporting hand must stay clear of the cutting area. If the position cannot meet those conditions comfortably, leave the job for a groomer.
Use PawTrim's own setup
The VUNRO PawTrim Pro is a narrow detail trimmer with its own blade and attachments. Keep those parts separate from D-Series and PRO components. Read its fitting and operating instructions, fit the chosen attachment while off, and check it is secure.
Introduce appearance and sound away from the paw before progressing to use. The light can help you see, but it cannot reveal hidden folds or make cutting close to skin risk-free. A narrow blade also needs temperature checks and a dog who remains comfortable.
Keep the first tidy shallow and visible
After a groomer has demonstrated the appropriate method for your dog, work only on a small amount of projecting hair above the visible paw surface. Use light, controlled contact as instructed. Keep the tool away from deep spaces between pads, webbing and any skin you cannot clearly identify.
Move the trimmer completely away before changing your supporting hand or repositioning the paw. If the dog moves, stop rather than following the movement with a running blade. Inspect the small area you have done and take a break. More passes are not automatically a better finish.
Do not turn this exercise into close face, ear or hygiene-area clipping. Those areas have different risks and are outside this beginner paw lesson. The correct response to remaining hair may be to leave it alone.
Check comfort before appearance
Switch off and put the tool safely aside. Let the dog put weight on the paw naturally and look at the area without forcing the toes apart. Stop the session if there is discomfort or an apparent injury and seek appropriate advice. Avoid adding products to the paw simply to make the finished area look polished.
For a beginner, a clean, comfortable, visible paw with some natural hair remaining is a more useful goal than an extremely close finish. A professional can advise whether a different maintenance approach would suit this dog's coat or activity.
Your practice checkpoint
Write down whether your dog accepted paw support, the sound of the tool and the brief task as three separate observations. If one stage was difficult, practise the earlier comfortable stage next time. Nail care is a separate lesson; completing a paw tidy does not mean you must trim the nails in the same sitting.
Evidence and further reading
Keep learning
More from the Blade Blog
Start Grooming at Home: Your Dog Comes First
Read the guide →
Meet Your VUNRO Tools: Choose the Right Grooming Setup
Read the guide →